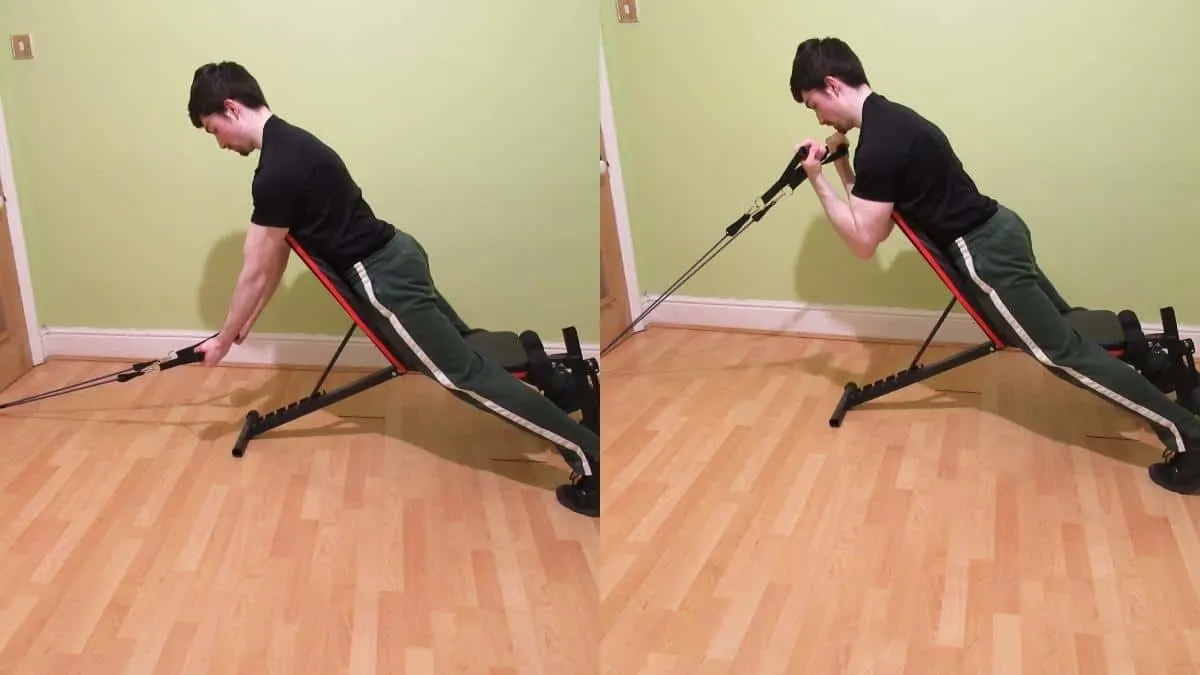
Resistance band spider curls are an exceptional exercise for the biceps brachii muscle if you train at home and can’t perform spider curls on an incline bench with free weights.
While the standard resistance band bicep curl is undoubtedly convenient, the spider variation makes it easier to keep the tension on the target muscles because it stabilizes your body against the bench.
Yet, if you don’t have access to a bench, then be sure to stick around until we get to the variations section so that you learn how to do spider curls with resistance bands only.
Resistance band spider curl exercise details
- Main Muscles: Biceps brachii
- Secondary Muscles: Brachioradialis, brachialis, forearm flexors
- Exercise Type: Strength
- Exercise Mechanics: Isolation
- Difficulty Level: Intermediate
- Equipment Needed: Resistance bands, door anchor, adjustable bench.
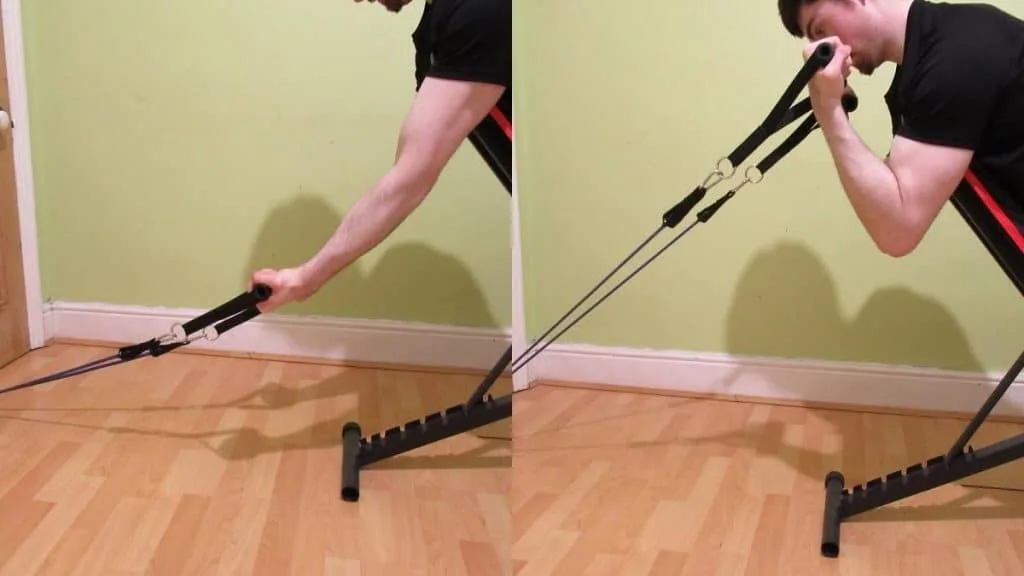
How to perform resistance band spider curls
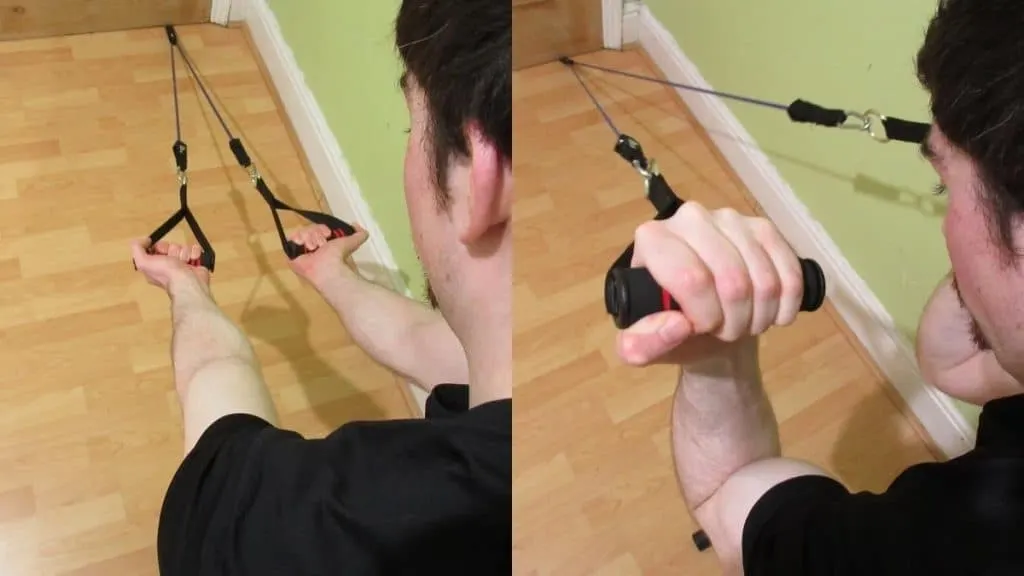
- Connect a resistance band to a door anchor.
- Slip the anchor under your door and then shut it securely.
- Set the backrest of a weight bench to a 60-degree angle.
- Position the bench a few feet away from the anchor point.
- Sit on the bench with your chest pressed into the back pad.
- Reach down and grab the resistance band handles.
- Curl the handles toward your shoulders and flex your biceps forcefully.
- Hold the contraction for a second and then lower the bands under control until your elbows are fully locked out.
- Repeat for 3-5 sets of 15-30 reps.
Resistance band spider curl variations
If your resistance band set didn’t come with a door anchor, or if you don’t have access to an adjustable weight bench, then you can still do banded spider curls. You’ll just need to make a few minor modifications to make the exercise feel like the standard version that I demonstrated in the tutorial above.
Alternatively, you can do something like kettlebell spider curls if you only have access to free weights.
Banded spider curl
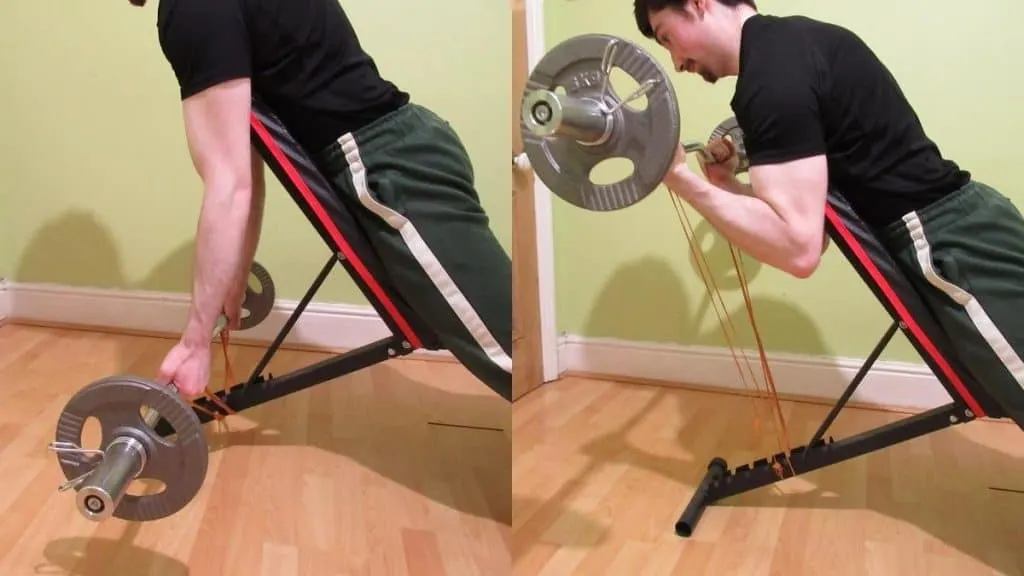
Before we get into band-only spider curls, let’s take a look at the banded spider curl. This variation entails attaching a band to a barbell to change the resistance curve of the exercise.
This approach is great for maximizing muscle growth because the band will make spider curls challenging at all parts of the rep. Usually, free weight spider curls provide minimal tension in the initial phase of the lifting motion but then become much harder as your biceps reach full contraction.
So by adding in the band, you’ll be recruiting more muscle fibers and stimulating greater hypertrophy because your biceps won’t get a chance to rest until the set is over.
The banded preacher curl is a similar exercise; the difference is that with banded spider curls, you’re using the vertical side of the pad rather than the sloped side.
Whichever movement you choose, you’ll need a heavy dumbbell to hold the band down. Essentially, you want to loop one end of the dumbbell through the band so that the band is pulling up on the handle. Then, you simply hold the other end in your hands and grab the barbell.
Weighted down band spider curl
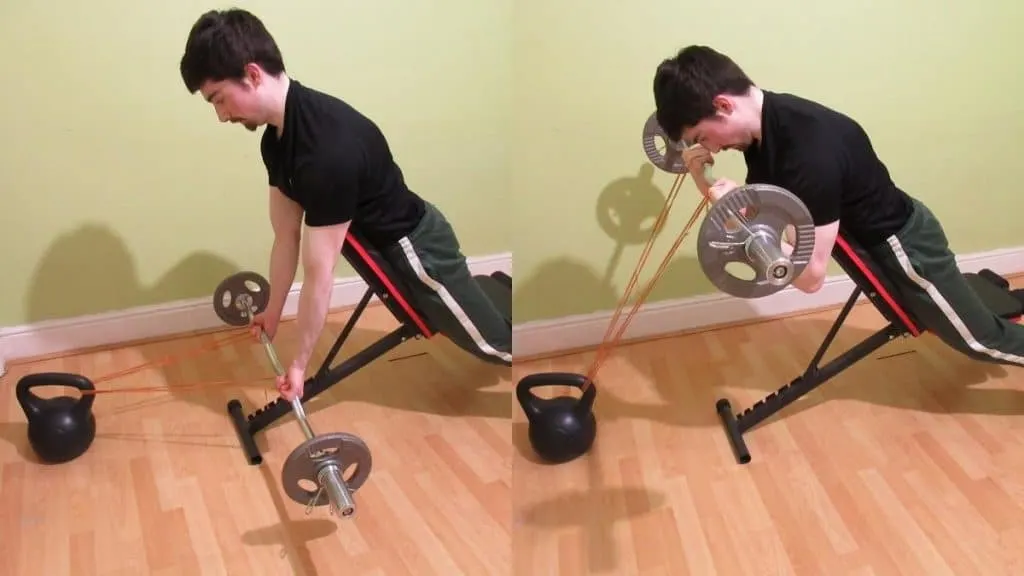
The weighted down resistance band spider curl is similar to the version explained above. The only difference is that we’re not using any free weights; we’re using resistance bands that have handles.
Again, you want to secure one end of the band with a heavy dumbbell that’s positioned at the foot of an adjustable bench or preacher pad. Then, hold the band handles and perform the usual spider curl motion.
If you opted for the preacher bench, then you’ll want to brace your arms against the sloped side of the pad. If you’re using a weight bench, then you’ll need to sit in a reverse position with your torso facing the backrest.
This version of the banded spider curl is ideal for making sure that both of your biceps receive equal work because the band handles essentially mimic dumbbells in that both of your arms move independently.
On the other hand, you can also do hammer curls with resistance bands if you want to focus on building your brachialis and brachioradialis muscles more so than your biceps.
Bent over band spider curl
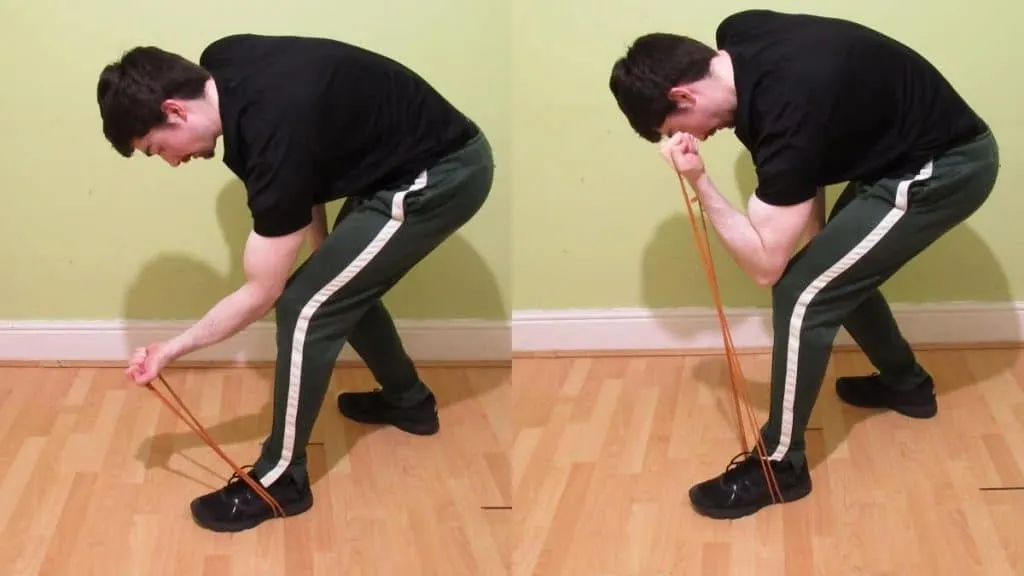
If you’ve got bands but don’t have any other equipment, then this is the exercise for you. The beauty of this movement is that you can do it with any type of band, regardless of whether they have handles or not. As such, spider curls make an excellent addition to any bicep resistance band workout.
To begin, step in the middle of your resistance band to secure it on the floor. Grab the other end with your hands, and then bend over at the waist. You can bend over all the way to 90 degrees so that your back is flat, or you can arch over to a 45-degree torso angle. Try both positions and see which is most comfortable.
Next, you either need to brace your elbows against your knees (recommended if you went for the 90-degree torso angle) or hold your arms out in front of your body. The former position more closely mimics a spider curl, but the latter option provides more tension because the band has to stretch further.
From there, you simply curl the band toward your front delts and squeeze your biceps as hard as you can. Finish the rep by lowering the weight and perform 15-30 total reps.
Related Exercise: Dumbbell spider hammer curls
Conclusion: Should you do spider curls with bands or not?
Although resistance band spider curls aren’t as easy to setup up as something like a band drag curl, they’re not exactly complicated to get going either. In fact, they’re ideal if you train at home because they require minimal equipment and absolutely no free weights.
All you need are resistance bands, a door anchor, and an adjustable bench. Once you have that setup, you’ll be able to enjoy the muscle-building bicep isolation that spider curls naturally provide.

